Many people now-a-days use Jupyter notebooks for working with python, R, data science and more cool stuff !! One thing common among all notebooks and the development environment is that each and everyone has the same default environment settings for his or her jupyter notebook. The default colours of notebook after a time look boring and dull.
It’s time to make your jupyter notebook cool again !!!
Customizing colours
One can customize each and every aspect of the notebooks. Lets start with customizing colours. On both windows and linux (ubuntu), the process is fairly straight.
- Go to user directory for whom jupyter is installed.
- Find directory named .jupyter. Note that you may find another folder named .ipython in the same directory. IPython is now the Jupyter project.
- Create folder named custom in the .jupyter directory.
- Create a CSS file in the custom directory. Name it custom.css.
- Open up your favourite editor. Start adding style to this file.
Now, from here onwards, you can play it the easy way or the hard way. Either write all the styling yourself or use style that someone else has written. Anyway you will have a lot of fun.
For those who choose the hard way, Good Luck !. For those who choose the easy way, check out these readymade and compiled css files from Kyle Dunovan. He has also made these themes available as package, so if you want to try the package, follow up the instructions on the github page.
Now, if you don’t want to install another package or just being lazy, copy any of the compiled css files and paste it in the custom css file that you had created earlier. It is necessary that your CSS file’s name should be custom.css. Refresh your notebooks and Voila !!!

You have cool notebooks.😎
For those of you who are style freaks, the less files are also provided here.
Note - You may notice that your jupyter toolbar has vanished. Don’t Panic !
Find these lines in your css files.
  div#maintoolbar {
      display: none !important;
  }
Now simply delete this property from the file. Save and refresh again, you’ll get the toolbar back.
Adding Jupyter Extensions
Jupyter notebooks are simply awesome. Add more awesomeness to them by installing extensions.
There are many extensions available for jupyter notebooks. Installing them one by one and managing becomes a pain. Here’s where the open source community has stepped up and made an extension manager for all jupyter extensions. Kudos to Open Source Community!!!
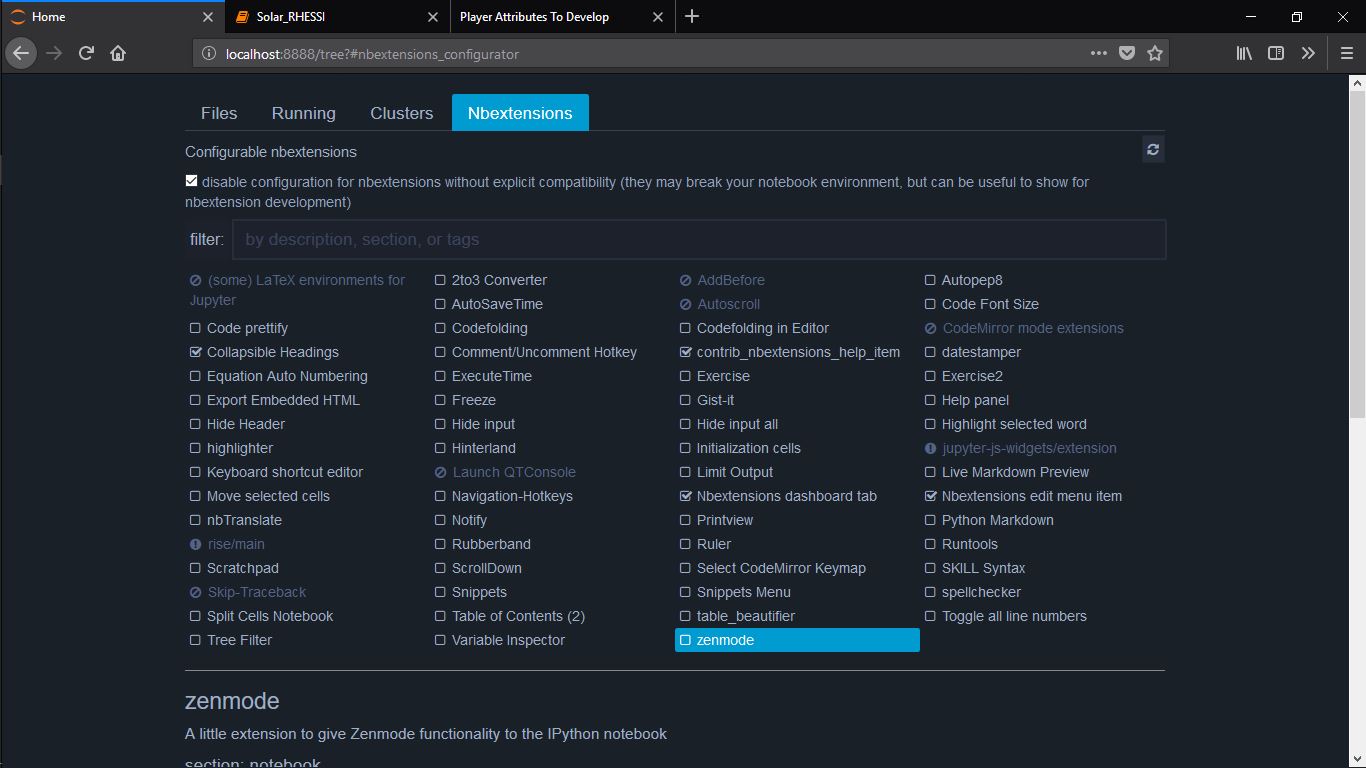
Check out entire list of extensions here. Installing, updating and managing extensions becomes very easy with this extension manager. All this is available in the form of python package.
Installation is as easy as running the commands -
If you are using pip,
pip install jupyter_contrib_nbextensions
If you are using anaconda as package manager,
conda install -c conda-forge jupyter_contrib_nbextensions
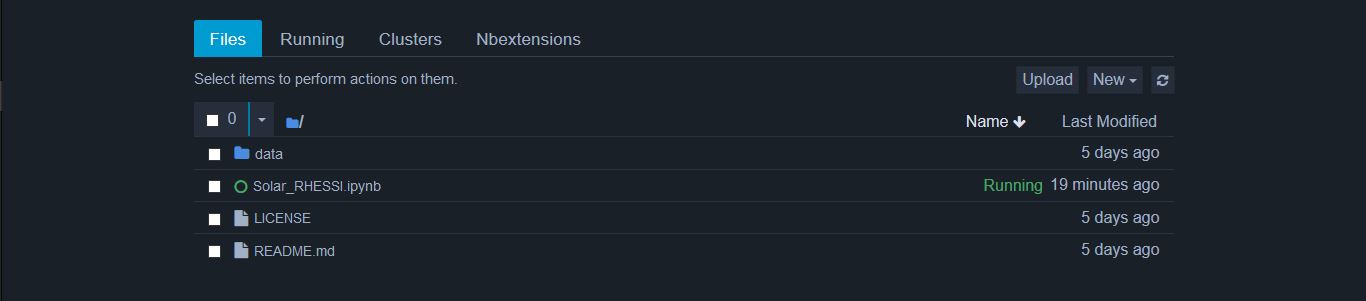
Once installed, refresh your notebook environment and find extension tab. Yes, you have all the awesomeness you’ll need.
What else you can do ?
The possibilities are infinte. If you want to know more about jupyter notebooks, check these blogs regarding tips and tricks of jupyter.